Your blender leaking because the seal around the blade assembly is damaged or worn out, causing the liquid to escape. This issue typically occurs after long-term use or if the blender has been dropped or mishandled.
Table of Contents
ToggleCommon Causes Of Blender Leaks
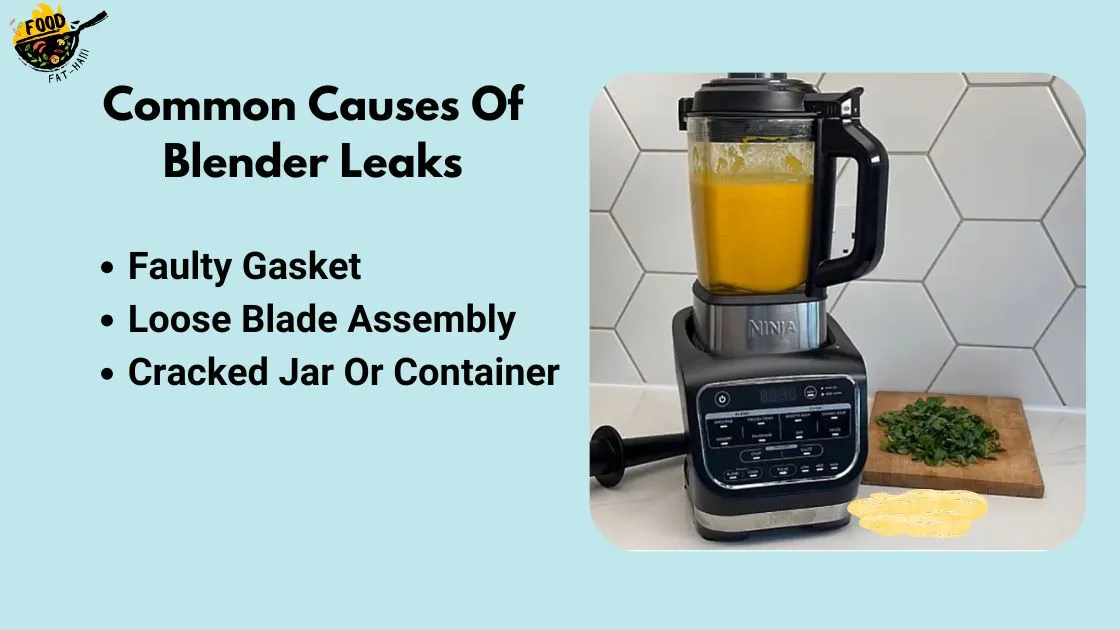
Blender leaks can be caused by worn-out gaskets, improper assembly, cracked containers, or loose blades. Identifying and fixing these common issues can prevent leaks and ensure a smooth blending experience.

Blender leaks can be frustrating and messy, causing unwanted spills and making a mess of your kitchen countertop. But why is your blender leaking? In this section, we will explore some common causes of blender leaks and how to address them.
Let’s dive in and troubleshoot these issues together.
Faulty Gasket
- The gasket, also known as the blender seal, is a rubber ring that sits between the blender blade assembly and the jar. It creates a tight seal to prevent leaks.
- Over time, the gasket may become worn out or damaged, leading to leakage.
Loose Blade Assembly
- The blade assembly is responsible for blending and chopping ingredients. If it is not properly secured to the jar, it can cause leaks.
- Check if the blade assembly is loose or not installed correctly. Tightening the assembly or reattaching it properly can often solve the problem.
Cracked Jar Or Container
- A cracked jar or container can be a major cause of blender leaks.
- Inspect the jar or container carefully for any visible cracks or damages. If you find any, it’s important to replace or repair the jar to prevent leaks.
A faulty gasket, loose blade assembly, or cracked jar/container can be the culprits behind your blender leaks. By identifying these common causes, you can take the necessary steps to resolve the issue and enjoy leak-free blending. Remember, keeping your blender in good condition is crucial for hassle-free kitchen experiences.
How To Fix A Leaking Blender
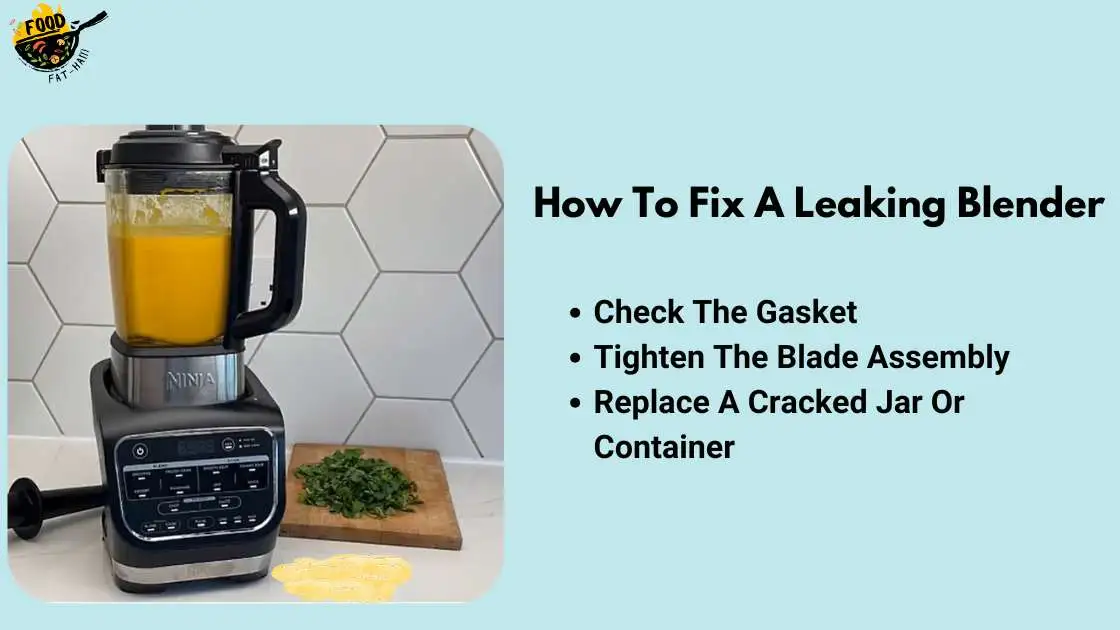
If you’re experiencing a leaking blender, don’t worry! There are quick and easy ways to fix it. Check the blender gasket, tighten the jar and blade assembly, or replace the faulty parts. Keep your blender in good condition for smooth blending every time.
Blenders are valuable kitchen appliances that make our lives easier by quickly blending ingredients into smooth concoctions. However, finding a puddle of liquid beneath your blender can be frustrating. If you’re wondering why your blender is leaking, we’ve got you covered.

In this section, we’ll explore several common causes of blender leaks and provide step-by-step instructions on how to fix them.
Step 1: Check The Gasket
The gasket is a small rubber or silicone ring that provides a tight seal between the blender jar and the blade assembly. Over time, wear and tear or improper alignment of the gasket can lead to leaks.
Here’s how to address this issue:
- Inspect for Wear and Tear: Carefully examine the gasket for any signs of damage or deterioration. If you notice cracks, tears, or flattening, it’s time to replace the gasket.
- Properly Align the Gasket: Ensure that the gasket is correctly positioned in the groove on the blender jar. It should fit snugly and create a complete seal when the jar is attached to the base.
Step 2: Tighten The Blade Assembly
A loose blade assembly can also cause your blender to leak. Here’s how you can address this issue:
- Ensure Blades are Secure: Check that the blades are securely attached to the base of the blender jar. Gently wiggle them to make sure they are tightly in place.
- Fasten the Blade Assembly Properly: Make sure the blade assembly is properly screwed onto the bottom of the blender jar. It should be tightened enough to prevent any liquid from seeping out while blending.
Step 3: Replace A Cracked Jar Or Container
If the leak is coming from the blender jar or container itself, there may be cracks or damages that require replacement.
Follow these steps:
- Examine the Jar for Cracks: Inspect the blender jar carefully for any visible cracks or damage. Even small cracks can lead to leaks, so it’s essential to replace the jar if you find any.
- Purchase a Replacement Jar if Needed: If you discover cracks, it’s time to invest in a new blender jar. Look for a compatible replacement that suits your blender model.
By following these simple steps, you should be able to fix the leaking issue with your blender. Remember to regularly inspect and maintain your blender to prevent future leaks. Enjoy blending your favorite recipes hassle-free!
Note: If the leak persists after trying these steps, it may be best to consult the manufacturer or a professional for further assistance.
Additional Tips To Prevent Blender Leaks
Prevent leaks in your blender with these additional tips. Keep the blender securely sealed, tighten the blades, check for cracks in the container, and ensure proper assembly to avoid leaks.
When using a blender, it can be frustrating to find that it’s leaking. Not only does it create a mess, but it can also affect the blender’s performance. To save you from this hassle, here are some additional tips to prevent blender leaks:
Clean The Blender Properly
- Regularly clean your blender: Over time, food particles and residue can build up in the blender’s components, leading to leaks. Make sure to clean your blender thoroughly after each use.
- Pay attention to the rubber gasket: The rubber gasket helps create a tight seal between the blender jar and the base. Cleaning this component is vital to preventing leaks. Remove the gasket and wash it carefully, making sure there is no debris or remaining food.
- Avoid putting the blender’s base in water: While it’s crucial to clean the blender properly, the base should never be submerged in water. Wipe it down with a damp cloth instead.
Avoid Overfilling The Jar
Each blender has a maximum capacity that should be respected. Overfilling the jar can put excessive pressure on the blender’s seals, leading to leaks.
When preparing your ingredients, ensure you leave enough room for them to circulate freely. This prevents spills and leaks.
Use The Blender On A Stable Surface
When using your blender, make sure you place it on a sturdy countertop or table. Avoid using it on an uneven or slippery surface, as vibrations can cause the blender to move, potentially resulting in leaks. To prevent any accidental leaks during blending, ensure that the lid is tightly secured. Hold it down firmly while the blender is in use.
Remember, by following these additional tips, you can keep your blender in excellent condition and avoid the frustration of leaks. Keep your blender clean, avoid overfilling the jar, and use it on a stable surface for leak-free blending every time!
Frequently Asked Questions On Why Is My Blender Leaking
What To Do When Your Blender Is Leaking?
To fix a leaking blender, follow these steps:
1. Check if the blender is properly assembled, ensuring the lid is sealed tight and the pitcher is securely attached.
2. Inspect the gasket or rubber ring, and replace it if it is worn out or damaged.
3. Tighten the blade assembly to ensure it is secure and not causing leakage.
4. If the leak persists, consider replacing the pitcher or contacting customer support for further assistance.
Is It Normal For A Blender To Leak?
Yes, it’s normal for a blender to leak occasionally due to worn or loose gaskets.
What Is This Black Stuff That Keeps Dripping Out Of The Bottom Of My Blender?
The black stuff that drips from the bottom of your blender could be a sign of motor oil leakage.
Why Is My Kitchenaid Blender Leaking From The Bottom?
Your KitchenAid blender may be leaking from the bottom due to a faulty seal or worn-out gasket.
Conclusion
A leaking blender can be frustrating, but there are several possible culprits to consider. From a loose or damaged gasket to worn-out seals or cracked blades, understanding the potential causes can help you troubleshoot and resolve the issue. Remember to check the blender jar for any cracks or damage and inspect the base for loose parts.
Regular maintenance and proper cleaning can also prevent leaks and extend the lifespan of your blender. By being cautious with liquids, avoiding overfilling, and ensuring a secure lid, you can minimize the risk of leakage. If you’ve checked all the possible sources and the problem persists, it may be time to seek professional help or consider investing in a new blender.
By addressing leaks promptly and implementing preventive measures, you can enjoy smooth blends without any messy surprises.


